Process to Configure Mail Flow And Client Access In Exchange 2016
In this article I am going to describe about how to configure mail flow and client access in Exchange 2016.
Exchange 2016 requires mail flow configuration and client access, after its complete installation. This allow users to send emails from Exchange 2016 to Internet and other external email clients like MS Office Outlook, and Exchange ActiveSync. Here, we are going to consider Exchange ActiveSync (single) and a SMTP namespace.
Diagrammatic Representation of Steps To Configure Mail Flow and Client Access
In this blog, we are going to discuss about each and every steps to configure mail flow and client access in detail and hence learn that how to configure mail flow and client access in Exchange 2016.
Step 1: Creating A New Send Connector
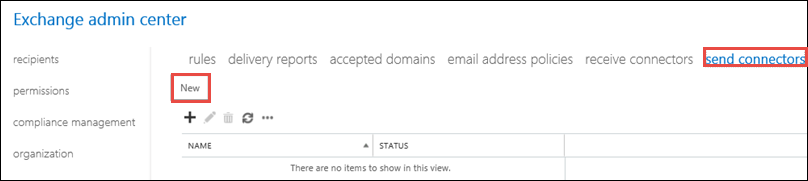
- Send connector is the one that give permission to the Exchange server for sending emails externally, based on its configuration. Open Exchange Admin Center and then go to Mail Flow >> Send Connectors >> New
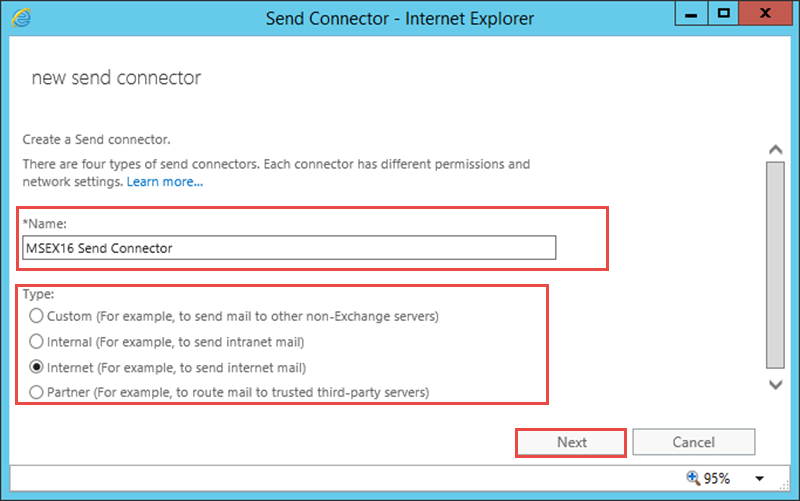
- Mention the Name of connector and select its type. Click on Next to continue
- A Network Settings window will appear, which provide following two options:
- MX record associated with recipient domain: With help of this option, the server will try to determine the target email server using DNS lookups. While choosing this option, keep in mind that internal DNS server can fix external domain names
- Route mail through smart host: Here smart host is SMTP server of Internet provider or any other SMTP server.
Select any of the two option and then click on Next button. Here, we are choosing the first network settings option i.e., MX routing option.

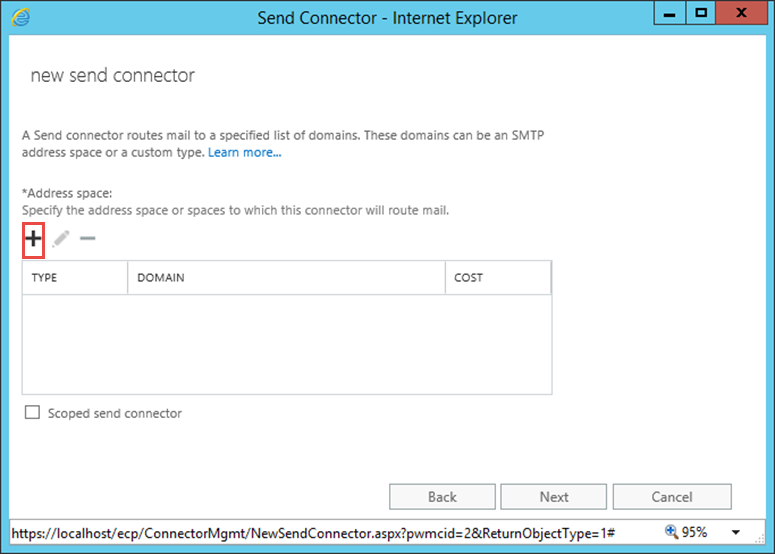
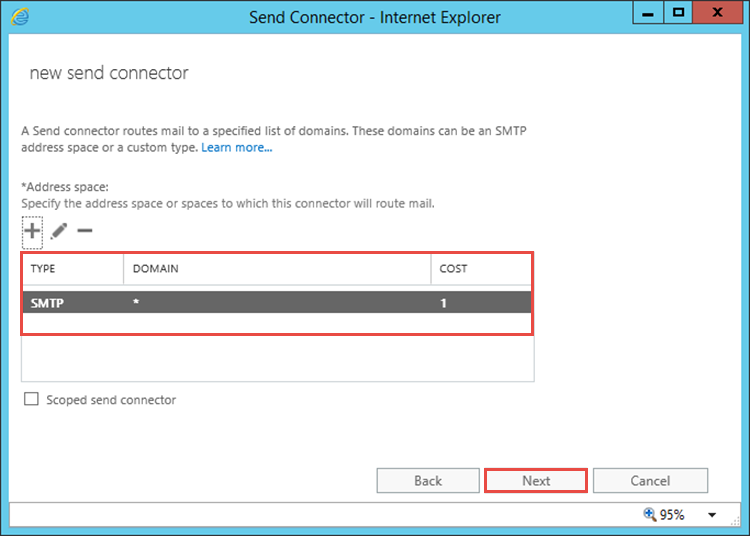
- From this current connector window, provide the Address Space to which this connector will route mail. For doing so, click on ‘+’ button
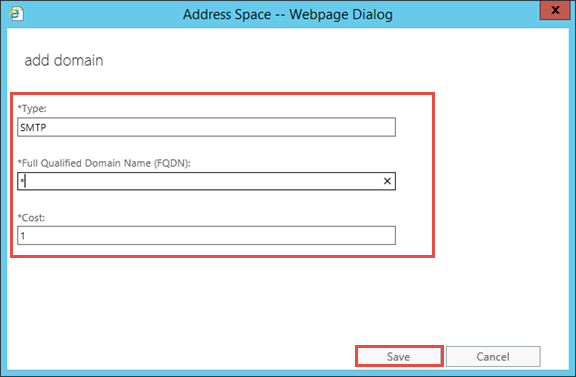
- Fill the text box of Type, Fully Qualified Domain Name FQDN, and cost & then click on Save
- Take a review of Address Space Configuration and then click on Next to go to next page.
- Fill the text box of Type, Fully Qualified Domain Name FQDN, and cost & then click on Save
- Now click on + button to select the server. Select the server by clicking on it and then click on Add >> OK

- Review the Source Server Details from the current pane and then click on Finish in order to complete configuration

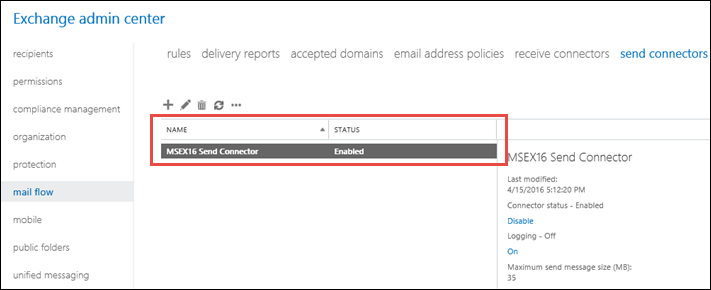
- Now the new send connector window will get closed and you will find your new connector listed in send connector section of EAC
Step 2: Adding an Additional Accepted Domains
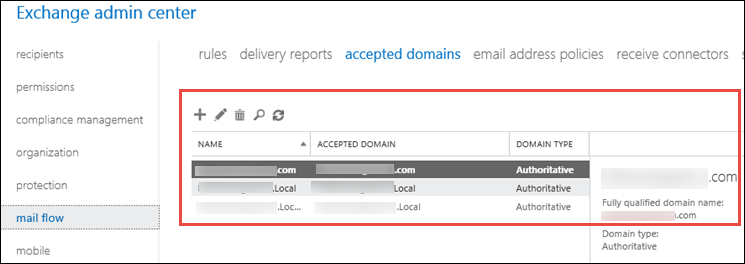
Accepted Domains is basically a SMTP namespace for which Exchange server sends or receive emails. It comprises of the domains, which are authoritative and also that receives mail & relay it on an external email server. By default, the domain is added to accepted domains section and its type is Authoritative. 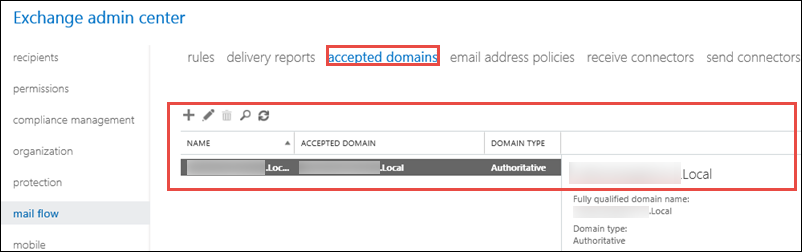
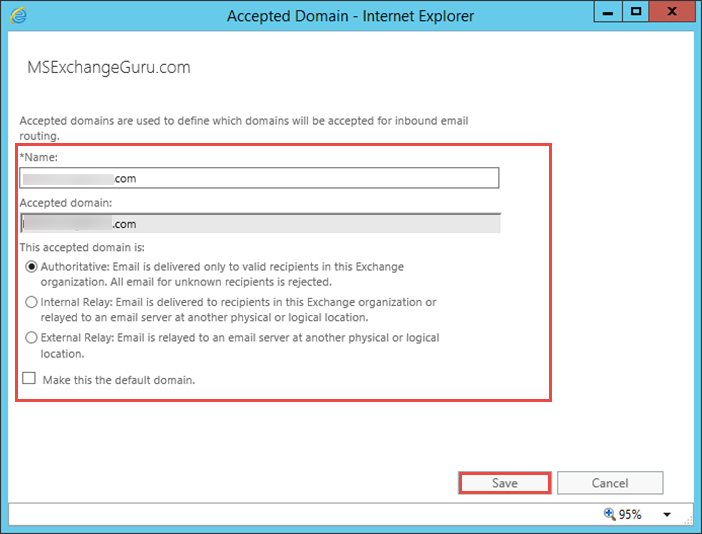
- Click on + button for adding a new accepted domain. This will open a new window in which you’ll have to mention Name, Accepted domain, and type of domain & then click on Save button
- After saving the file successfully, you will find the accepted domains in form of list
Step 3: Configuring The Default Email Address Policy
Email address policy describes the format of email address. By default, the email address is created and applied to all recipient types & the format of mail address is kelly@contoso.com. Such policy of mail address is acceptable and hence, it is not compulsory to make changes into it. Still, if some one wants to make some modification, then they will have to open Exchange Admin center and then go to Email Address policy >> Edit button 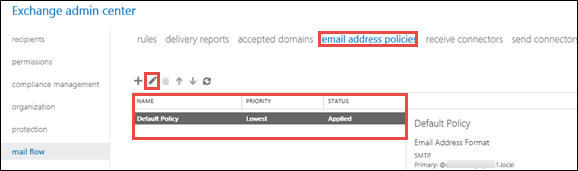
After completion with all settings, click on Save button 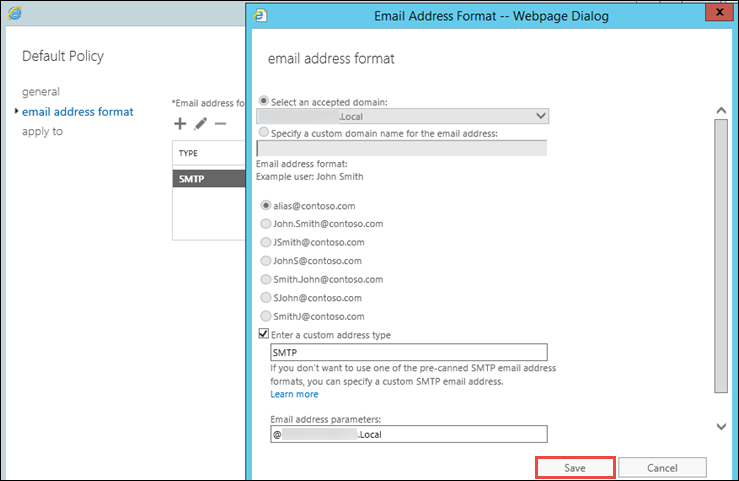
Step 4: Configure External URLs
Before connecting to new server from the Internet, configuration of external domains, or URLs,, on the virtual directories server of mailbox is required. This is done too configure public domain name services. To do so, follow the below-mentioned steps:
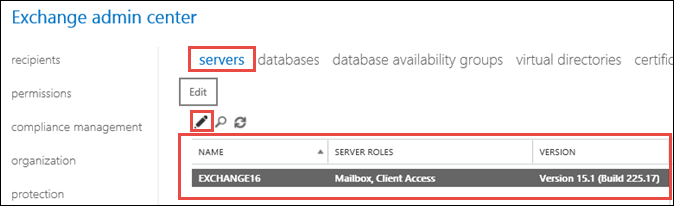
- Open EAC and go to Servers section
- Select any one Internet server listed in front of you and then click on Edit button
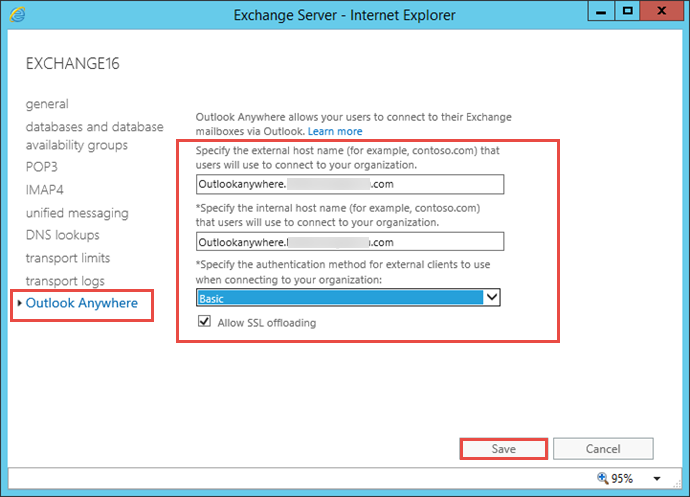
- Now go to Outlook Anywhere tab and mention the Internal Host name and external host name & then click on Save
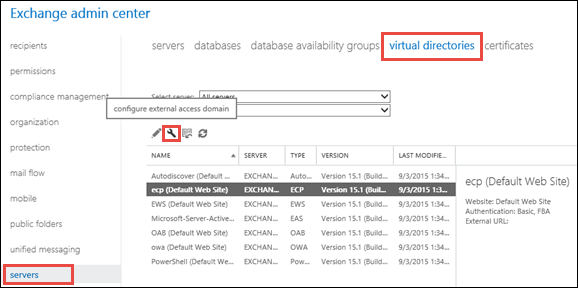
- From EAC menu, go to servers >> Virtual Directories and then click on Configure button.
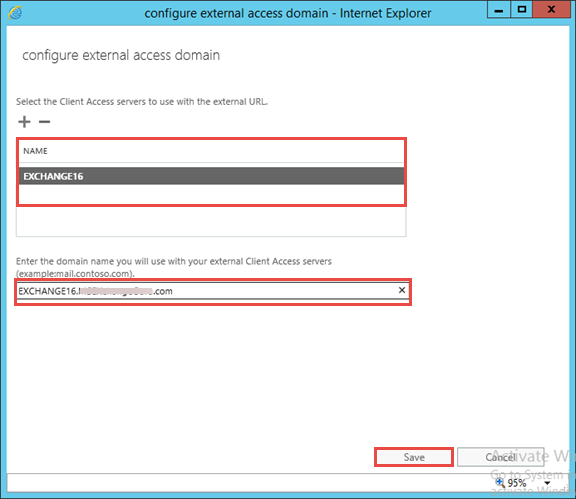
- Choose any one server and then click on + button. Mention the Domain name that you want to use for External access and then click on Save save button
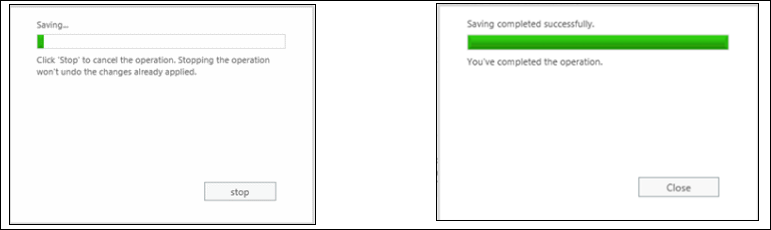
- Now you will get a live status report of configuration procedure and at the end completion message
Step 5: Configuring Internal URLs
Following two options are available for configuring Internal URLs, which depends on the addressing scheme (Already implemented or to be implemented):
- Configure an identical internal and external URLs
- Configure different internal and external URLs
TIP: It is recommended to use a same URL (external and internal) because it makes server accessing easy as there is only one URL to remember for functioning.
- Configuring an identical Internal and External URLs
Such configuration is achieved with help of different commands of Power Shell- Launch Exchange Management Shell on the server mailbox
- Save the mailbox server’s host name in variable form, which will be utilized in next step.

- Execute following set of commands in order to configure each internal URL for matching the external URL of virtual directories.

- Configuring a different Internal and External URLs
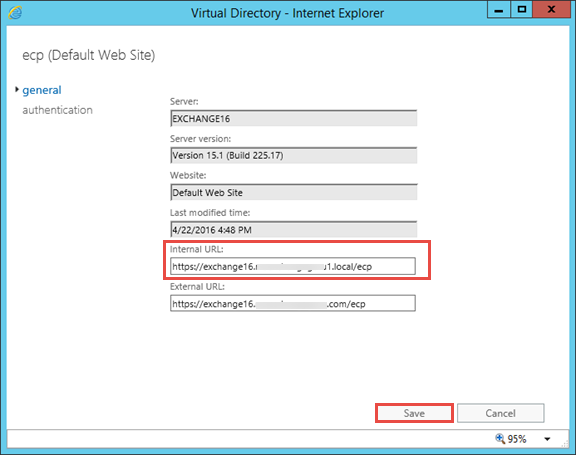
- Go to Servers >> Virtual directories >> Edit button
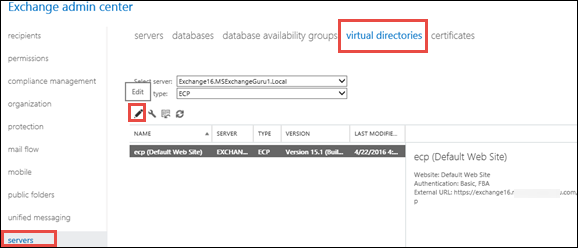
- From new panel, replace the host name after https:// and before /ecp with new FQDN, which is to be used and then click on Save button for all virtual directories.
- Go to Servers >> Virtual directories >> Edit button
Step 6: Configuring A SSL Certificate
Exchange features like Exchange ActiveSync, and Outlook Anywhere, need certificates to be completely configured on Exchange 2016.
That’s all! Therefore, firstly there is a need to perform configuration and then acquire SSL certificate as per our need.
Conclusion
As we have discussed about the process to configure mail flow and Client Access In Exchange 2016. All processes are described very well in steps with pictorial representation.